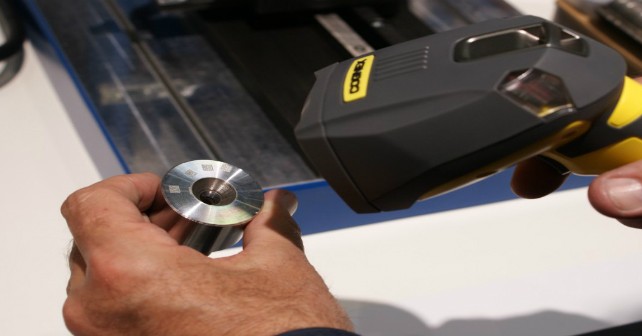
In many manufacturing industries (including medical, industrial, automotive, aerospace and electronic) dot-peened markings are used to produce clear, cost-effective permanent identification marks, which allows for accurate traceability.
Dot-peen can be used to make easily readable marks on soft and hard materials to mark straight, radial or arced inscriptions on surfaces which are curved or flat.
Problem
The problems faced by dot-peened 2D codes are increased when optical character recognition (OCR) or optical character verification (OCV) is required, as in this case.
Your camera’s built-in lighting solution provides directional radiance which throws glare back into the lens from shiny surfaces, such as metal or polished plastic.
Solution
The use of the correct lighting solution, as outlined below, to create good contrast will enable your machine vision system to maximise efficiency.
Red or Blue LEDs: These are best for increasing contrast, while reducing glare in the image capture.
Low Angle lighting: A low angle lighting solution minimises the reflection (or “shine”) back into the camera while keeping the object fully lit. Two good solutions for this are
LED Ring light or Bar light: Arranged in a square or parallel configuration (bar lights), or using a ring light will highlight most dot-peened markings, even with shiny metal surfaces.


No Responses to “How to Set up Lighting for Reading Dot-Peened Markings”