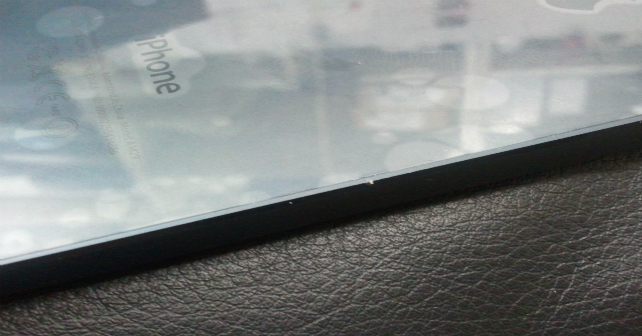
Any markings on the edges of a part or product are difficult to check. The shape, materials, dimensions, colour, and various other parameters must be taken into account,
from the camera’s point of view.
Problem
When using its integrated lighting a camera can only provide single-colour, directed lighting which cannot possibly cover all the potential parameters. This makes it unable to detect edge marking properly.
Solution
Depending on the characteristics of your work-piece and the markings themselves, there are several solutions which may best fit you needs.
Shape of the piece: by designing the shape of your lighting solution you can ensure that the best lighting is given to each part. You can use Bar lights to create parallel or square/rectangle lighting zones, you can also use Ring lights to create an edge-lit circular zone if that best fits the shape.
Reflectivity: Using Low Angle lighting or diffusion domes can make marks readable, even on very shiny surfaces.
Colours: You can design your lighting with the colours that would best suit your application.
For example:
• Green LED lighting is recommended for laser engraved markings.
• Red or blue LEDs are more appropriate for dot-peened markings.
• Red or White LEDs work best for inkjet-printed best-before date markings.


No Responses to “How to Set up Lighting for Detecting Markings”