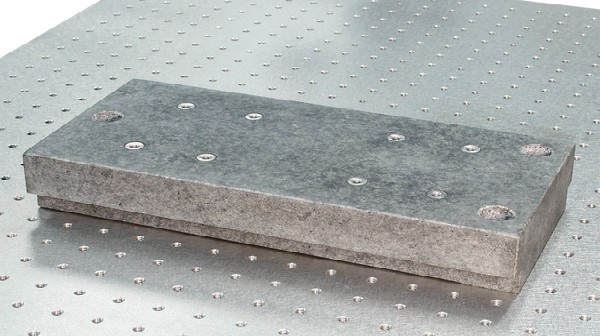
For any part or product which incorporates holes into its design, their presence or absence is often critical to the success or failure of the overall design. There is no point, for example, in passing a front plate for a wall socket if there is no hole for the plug, or it is in the wrong place for the rest of the mounting.
Problem
Your camera’s built-in, coaxial light is simply not flexible enough to be applied to any process. A mono-directional light source is not reliable enough to help the camera detect the presence (or absence) of a hole when taking into account holes with differing sizes or surface materials.
Solution
By using the right lighting solution for the type of holes you will encounter in a work-piece, you can be sure of making the holes visible for detection. Depending on the hole in question you may be best off using the below solutions.
Backlight: For flat parts with holes which entirely go through, the best solution is a LED backlight which will deliver a sharp silhouette of the hole, making for a very clear image, and efficient quality control.
Bar light: If the holes do not go all the way through a piece, inclined directional lighting using LED bar lights (in a square or parallel combination) will effectively pick out the holes presence for the camera.
Diffusion dome or Low Angle: When the work-piece has a shiny surface, using a LED ring light with a low angle setting, or diffusion dome will reduce the glare and allow the camera to correct image the hole.


No Responses to “How to Set up Lighting for Detecting Holes”