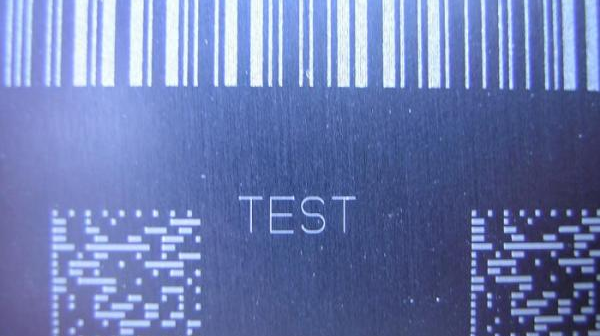
In every industrial or manufacturing process there is, at some time, the need to read codes and/or markings on the parts or products used. This can be for anything from stock management to quality control and often in a critical way.
Machine vision systems provide ways of automating and increasing the rate of reading with sophisticated detection, reading, verification and decision-making options, but in order to take the best advantage of the systems you need to make sure that the cameras can see the markings and codes clearly.
Problem
The very intense, direct light – with which your camera may be equipped – will not be sufficient for reading most codes and/or markings. Checking that a code or marking has been correctly engraved on a finished product, for example, requires specialised lighting to create a clear image for the camera.
Solution
Taking the example of engraving, there are several possible solutions dependant upon the method of engraving, the size, the shape, the colour, and the surface material properties, the most common of which we have highlighted below.
Laser Engraving: Green LED lights mounted within a ring light or bar light gives the recommended best lighting for checking the presence of these types of codes/markings.
Dot-peened codes: Staying away from the more intense “green” part of the spectrum is recommended for these markings/codes. Instead using a ring light or bar light with either blue or red LED lights will give the best lighting.
Shiny surfaces: For work-pieces with shiny surface materials create a square or parallel light zone, by using LED bar lights and angle brackets, to reduce the reflection into the camera lens.
“Bright” images: If the lighting is producing an over-bright image to the sensor you need to diffuse the situation. Using a LED ring light with a diffusion dome will create a matt image and allow the sensor to function properly in the reading.


No Responses to “How to Set up Lighting for Reading Codes & Markings”